


No one understands the uncontrollable desire to get seeds in the ground more than me. It is almost impossible to walk away from that freshly tilled black earth on those first warm sunny spring days in April - but I do.
The Peepers have to shut up 3 times.
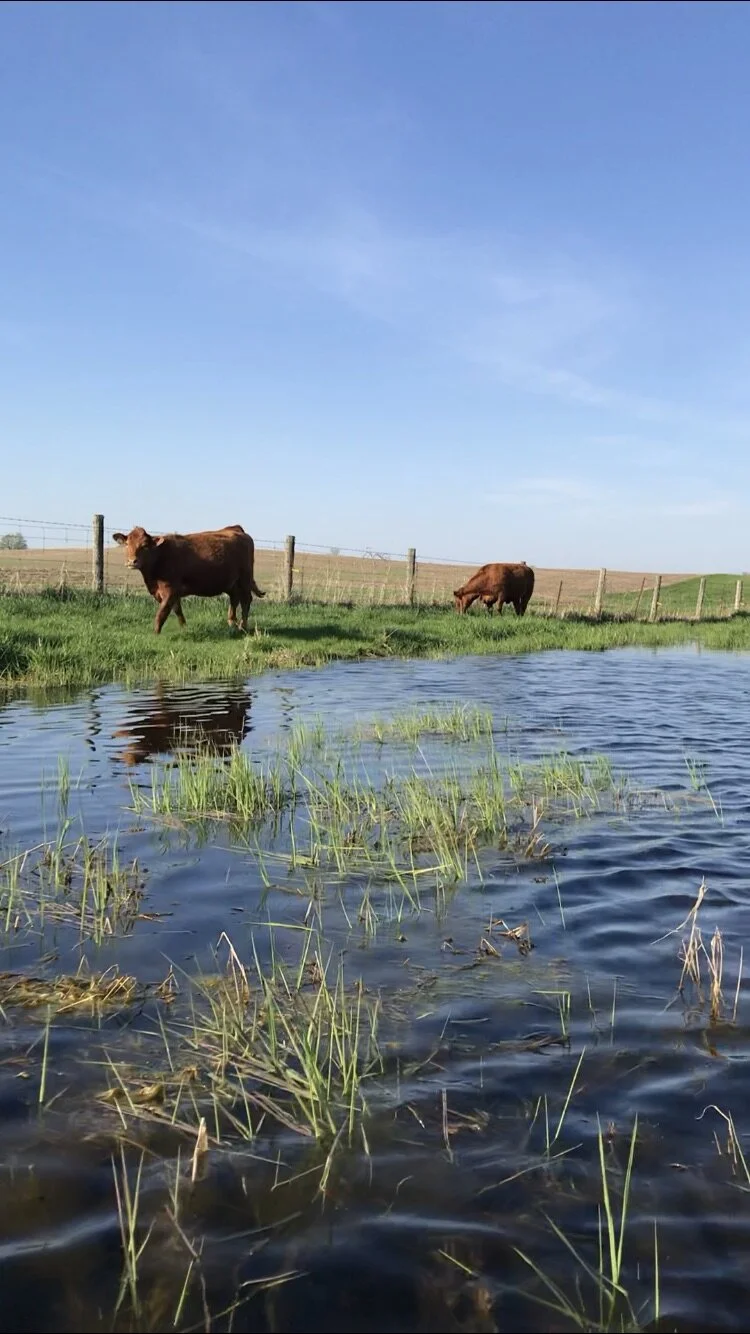
It’s an old rule told by Grandpa Murray (hence MurrayHill Farm but that’s another story) whereby the frogs in the pond field start singing after the spring melt. They will sing day in, day out until the weather turns cold and they are quieted for a time until they sing again. Once they do this three times, it is safe to start planting!
Click to hear the Peepers!
Listen to our Peepers in our pond field HERE
For those of you without a pond field, there are many resources to go by, Farmers almanac, Moon phases but generally, you can find your Plant Hardiness Zone and follow the recommended planting dates.
For ideas on What Seeds to Grow When, check out
Grow Your Own Garden Part 1
so, Ready, Set…Plant
Here are a few tips for planting out in your garden.

TIP #1 Go to Beds
Forget the idea of single rows and adopt a system of beds instead. Make your “row/bed” 24”-30” wide so that you can easily reach the centre from either side.
Orient your beds North/South so every row gets the most sunshine.
Within that bed, you can sow 4 rows of radishes, onions or spinach 6” apart, 3 rows of carrots 8” apart, 2 rows of beets, beans, chard 12” apart etc. You get the picture. This method minimizes space wasted on walkways.
TIP #2 Go Vertical

Every opportunity you get, grow up!
Be it on a fence, trellice, or a simple t-pee made from 3 stakes, vertical growing is the best way to maximize space. Tomatoes, peppers, peas, cucumbers, melons, pole beans, even winter squash gan go UP.
Think, an old step ladder, swing-set, wires bent into a dome, or hockey sticks
even other plants like corn or sunflowers can be supports
Keep in mind that your trellised veggies will create a “wall” that will shade plants to the north and limit sunlight to the beds on either side. Take advantage of this and plant cooler growing crops like lettuce and spinach along the north or East side.
TIP #3 Interplant for Veggies ‘till Christmas
Check the seed packet or catalogue information
Every vegetable variety has a Days To Maturity (DTM) that indicates how long it needs to grow before harvest.
Start counting when seeds germinate or from transplanting. DTM will be more the later in the season it gets due to shorter day lengths.
Within your wide beds, you can interplant short DTM veggies like radishes, salad turnips, early carrots and leaf lettuce alongside longer DTM’s like late tomatoes, peppers, eggplant, brusselsprouts and cabbage.
TIP#4 Plan to double crop

For instance, along the centre of a row, plant out your Brussel sprouts. On one side, plant two rows of radishes, on the other plant a 6” band of leaf lettuce. By the time your sprouts are filling out the bed, the other crops will be in your tummy!
A bed of leafy greens, peas, green onions and radishes can be harvested in mid-july and re-planted to carrots and beets for a fall harvest.
TIP#5 Don’t plant radishes like you’re planting potatoes!
Plant seeds no more than 3 times deep as they are big.
Keep seed bed warm and damp for a few days by spreading black plastic, cardboard, or newspapers. Just be sure to remove it as the seeds germinate. Check daily after 3 days. This is especially useful with carrots that can take 10 days to germinate.
Here is a really neat idea for sowing carrots that uses a home made gel to sprout and plant carrots. I personally have not tried but seems to have some merit and I would certainly give it a go on a small scale.